Object option select the existing backwards cloud and when asked to reverse. Press Enter to keep the current direction of the arcs.

Https Opengameart Org Content 2d Clouds Pack Clouds Hand Art Drawing Game Assets
How to draw cloud in AutoCAD in form of rectangle.

. Specify the next point of the freehand shape. In this article I will discuss these features in detail. How to draw revision clouds in AutoCAD.
Specify the Freehand option. In the graphics area specify the start point of the freehand shape. Find In the drawing area right-click and choose Object.
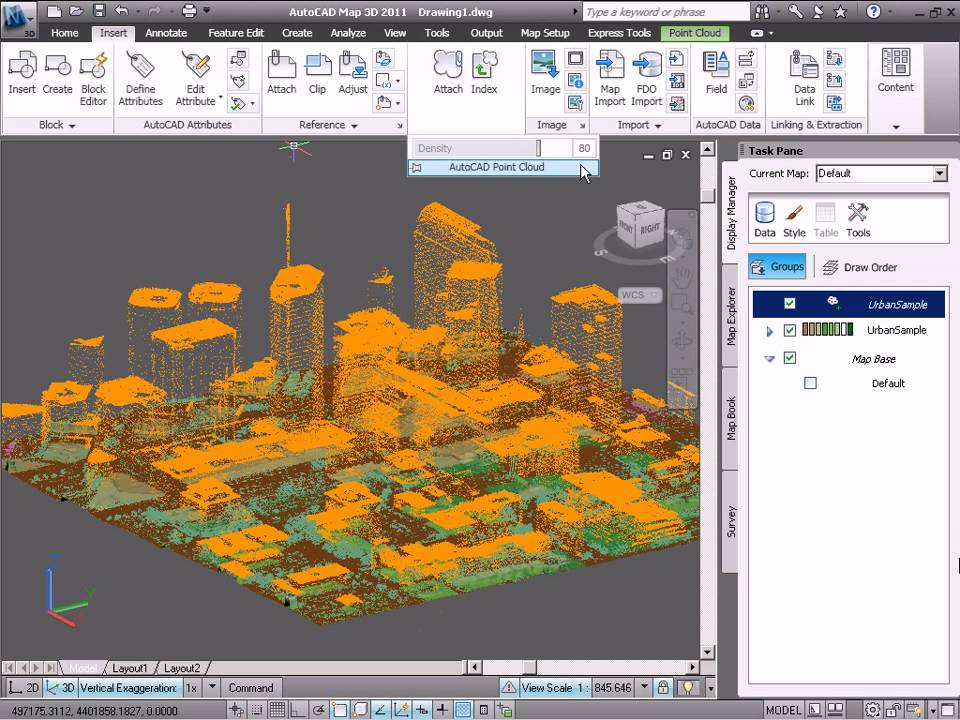
Find In the Select Point Cloud File dialog box find and select a scan RCS or reality capture project file RCP to attach. On the Draw toolbar click the Revision Cloud tool. This tutorial shows how to create rectangular revision cloud in AutoCAD step by step.
On the menu choose Draw Revision Cloud. Click Home tab Draw panel Revision Cloud drop-down. You can create a new revision cloud by selecting two corner points or polygonal points dragging your cursor or you can convert an object such as a circle polyline spline or an ellipse into a revision cloud.
Select a circle ellipse polyline or spline that you want to convert to a revision cloud. Press Enter to go back to restart with specifying a new start point. Select a circle ellipse polyline or spline that you want to convert to a revision cloud.
To construct freehand Clouds. However its only present if you select an object by which to. Select the 2pt Diagonal Section tool.
Consider them in order. Click Draw Cloud or type Cloud. The direction type Y for yes.
In this session you will learndrawing Revision Cloud and options. The AutoCAD 2016 version came with completely revamped features of revision cloud. Otherwise enter yesto reverse the direction of the arcs.
Press Enter to keep the current direction of the arcs. Click Home tab Draw panel Revision Cloud drop-down. Simply select a start point and move the mouse.
Click Home tabDraw panelRevision Cloud drop-down. Otherwise enter yes to reverse the direction of the arcs. Drawing a revision cloud is easy.
In that we can. On the ribbon choose Home Revision Cloud in Annotation or Annotate Revision Cloud in Markup. AutoCAD Productivity Training Webinar Available Now.
Run the command again select the. Conversion of objects into marking cloud in AutoCAD - creating drawing of marking cloud based on an existing object. Click Home tab Draw panel Revision Cloud drop-down.
Use revision clouds to highlight parts of a drawing that are being reviewed. Otherwise enter yes to reverse the direction of the arcs. Press Enter to keep the current direction of the arcs.
In the Attach Point Cloud dialog box specify your preferences for insertion point scale and rotation. Click Home tab Draw panel Revision Cloud drop-down. Select a circle ellipse polyline or spline that you want to convert to a revision cloud.
Find In the drawing area right-click and choose Object. Command prompt will prompt. To draw a revision cloud 1 Do one of the following to choose Revision Cloud.
Find In the drawing area right-click and choose Object. Building rectangular revision cloud in AutoCAD start by calling Cloud command then select Rectangle option. How to attach a point cloud project or scan file to a drawing in order to work with it.
Click Insert tab Point Cloud panel Attach. So this is what you do. AutoCAD Revision Cloud Rectangle AutoCAD Rectangular Revision Cloud.
Click at rectangular from the command line options and then click at two points in the drawing to make the rectangle.

Revamped Revision Clouds In Autocad 2016 Autocad Pattern Illustration Autocad 2016
How To Draw Fantasy Maps Super Easy In Shadowdraw Nanowrimo Map Sketch Fantasy Map Making Fantasy Map

How To Create Automatic Revision Cloud In Autocad Autocad Revcloud Youtube Autocad Tutorial Autocad Clouds

Pin On Silhouette

Pin On 2d Blocks
How Does Lidar Remote Sensing Work Light Detection And Ranging Youtube Point Cloud Autocad Clouds

Pin On Aun

Pin On 素材
0 comments
Post a Comment